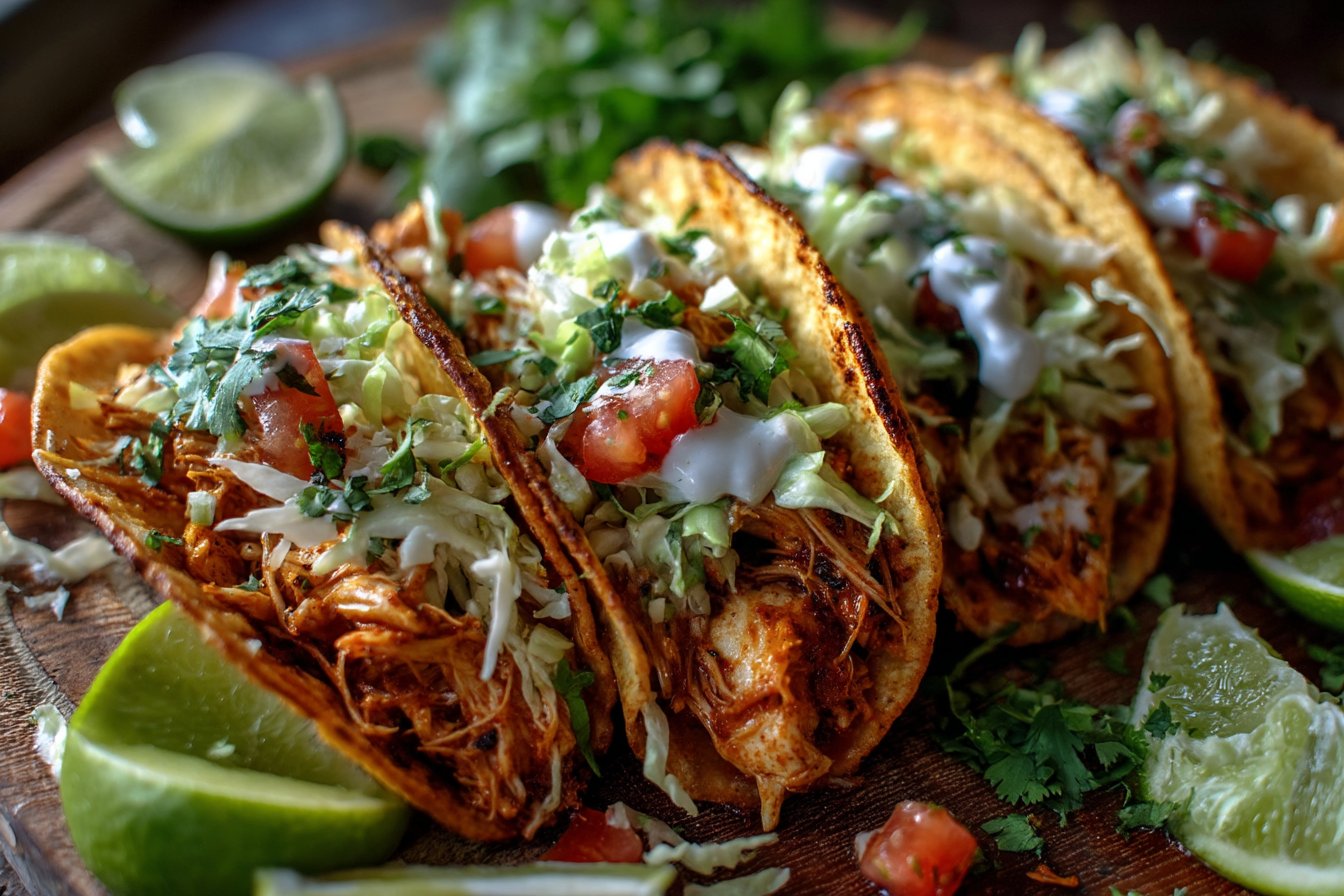
Baked chicken tacos. Just the name evokes images of a fun, flavorful, and satisfying meal. Forget those greasy, fried versions or lackluster fillings. We’re diving deep into the world of
Baked Chicken Tacos that are bursting with juicy, seasoned chicken, nestled in perfectly crispy shells, and customizable with all your favorite toppings. This isn’t just another recipe; it’s your ultimate guide to achieving taco perfection right in your own oven.
Whether you’re a seasoned home cook or just looking for a reliable weeknight dinner hero, these oven-baked delights are a game-changer. We’ll cover everything from selecting the best chicken and creating an irresistible homemade seasoning blend to mastering the art of the crispy baked shell and loading them up with fresh, vibrant toppings. Get ready to elevate your Taco Tuesday (or any day, really!) to legendary status.
Why You’ll Fall in Love with THESE Baked Chicken Tacos
Before we jump into the delicious details, let’s talk about why this baked chicken taco recipe will become a staple in your household:
- Unbeatable Flavor: We’re not just throwing plain chicken into a shell. We’re talking about perfectly seasoned, tender, and juicy chicken that forms the heart of your taco.
- The Perfect Crunch: Say goodbye to soggy taco shells! Our methods ensure that your baked shells achieve that satisfying, audible crunch with every bite.
- Surprisingly Easy: Despite the gourmet taste, this recipe is designed for simplicity. Perfect for busy weeknights when you need a delicious meal without hours in the kitchen.
- Healthier Indulgence: Baking instead of frying significantly cuts down on fat without sacrificing texture or taste. Load them up with fresh veggies for a well-rounded meal.
- Fully Customizable: Tacos are all about personal preference. We’ll give you the perfect canvas and endless ideas for fillings and toppings so everyone can build their dream taco.
- Crowd-Pleaser: From kids to adults, who doesn’t love tacos? This recipe is perfect for family dinners, casual get-togethers, or even a fun date night in.
The Star of the Show: Perfecting Your Baked Taco Chicken
The chicken is arguably the most crucial component of your baked chicken tacos. You want it tender, juicy, and packed with flavor. Here’s how to achieve chicken nirvana:
Choosing Your Chicken:
While you
can use pre-cooked rotisserie chicken for a super quick option (and we’ll touch on that), cooking your chicken from scratch allows you to control the flavor profile completely.
- Boneless, Skinless Chicken Thighs: Highly recommended for their flavor and moisture content. Thighs are more forgiving and less prone to drying out during baking and shredding.
- Boneless, Skinless Chicken Breasts: A leaner option. If using breasts, be careful not to overcook them. Pounding them to an even thickness can help ensure even cooking.
For this ultimate recipe, we’ll focus on using chicken thighs for maximum flavor and juiciness. Aim for about 1.5 to 2 pounds of chicken for a generous batch of tacos (approximately 10-12 tacos).
The Magic is in the Seasoning: Homemade Chicken Taco Spice Blend
Store-bought taco seasoning packets can be convenient, but they often contain high levels of sodium, fillers, and anti-caking agents. Making your own is incredibly easy, cheaper in the long run, and allows you to customize the flavors to your liking.
Our Signature Chicken Taco Seasoning Mix:
- 2 tablespoons chili powder (use a good quality one)
- 1 tablespoon ground cumin
- 2 teaspoons smoked paprika (this adds a lovely depth)
- 1 teaspoon garlic powder
- 1 teaspoon onion powder
- 1 teaspoon dried oregano (Mexican oregano if you have it)
- ½ teaspoon ground coriander
- ¼ – ½ teaspoon cayenne pepper (adjust to your heat preference)
- 1 ½ teaspoons kosher salt (or to taste)
- 1 teaspoon black pepper
Instructions: Simply mix all the spices together in a small bowl. This recipe makes more than you’ll need for one batch of tacos; store the extra in an airtight container for future use. It’s fantastic on ground meat, fish, or even roasted vegetables!
Cooking the Chicken for Shredding:
There are a few ways to cook your chicken before shredding it for the tacos:
- Oven-Baked (Recommended for this recipe):
- Preheat your oven to 400°F (200°C).
- Place chicken thighs in a baking dish. Drizzle with a tablespoon of olive oil and sprinkle generously with your homemade taco seasoning (use about 2-3 tablespoons of the seasoning mix per 1.5 lbs of chicken, or to taste).
- Rub the seasoning all over the chicken.
- Add about ¼ cup of chicken broth or water to the bottom of the baking dish to help keep the chicken moist.
- Bake for 20-25 minutes, or until the internal temperature reaches 165°F (74°C).
- Let the chicken rest for 5-10 minutes before shredding. This allows the juices to redistribute.
- Stovetop Method:
- Heat a tablespoon of olive oil in a large skillet over medium-high heat.
- Season chicken thighs with your homemade taco seasoning.
- Sear the chicken for 3-4 minutes per side until nicely browned.
- Add ¼ cup of chicken broth or water, reduce heat to low, cover, and simmer for 15-20 minutes, or until cooked through.
- Rest and shred.
- Slow Cooker Method (Great for meal prep):
- Place chicken thighs in a slow cooker. Sprinkle with taco seasoning and add ½ cup of chicken broth or salsa.
- Cook on low for 4-6 hours or on high for 2-3 hours, until tender and easily shredded.
Shredding Your Chicken: Once cooked and rested, shred the chicken using two forks. It should pull apart easily. Taste the shredded chicken and add a bit more seasoning or a squeeze of lime juice if desired. You can also mix in a tablespoon or two of your favorite salsa or a little of the cooking liquid to keep it extra moist.
Quick Tip: Using Rotisserie Chicken If you’re short on time, a store-bought rotisserie chicken is a fantastic shortcut. Simply shred the meat (you’ll get about 3-4 cups from an average-sized chicken) and toss it with 2-3 tablespoons of your homemade taco seasoning and a squeeze of lime juice. You might want to add a tablespoon or two of chicken broth or water if it seems dry.
Achieving the Perfect Crispy Baked Taco Shell
The hallmark of a great baked taco is that irresistible crunch. Here’s how to get your taco shells (or tortillas) perfectly golden and crispy in the oven:
Option 1: Using Store-Bought Hard Taco Shells
This is the easiest route. However, even store-bought shells benefit from a little oven time.
- Pre-bake them: Arrange the hard taco shells standing up in a 9×13 inch baking dish (you can lean them against each other or use a special taco baking rack).
- Bake in a preheated 375°F (190°C) oven for 3-5 minutes. This helps to freshen them up and ensures they are extra crispy before you even add the filling.
Option 2: Baking Soft Tortillas into Crispy Shells (Our Favorite for Texture!)
For a more rustic and often more satisfying crunch, baking your own shells from soft tortillas is the way to go. Both corn and flour tortillas work, but corn tortillas tend to give a more authentic flavor and superior crispiness.
- Choose your tortillas: Small (taco-sized) corn tortillas are ideal. White or yellow corn tortillas work well. Flour tortillas will also crisp up but might have a slightly softer, chewier interior.
- Warm them slightly: This is crucial, especially for corn tortillas, to make them pliable and prevent cracking when you fold them. Wrap a stack of tortillas in a slightly damp paper towel and microwave for 30-45 seconds. Alternatively, warm them briefly in a dry skillet.
- Oil them lightly: This is key for crispiness and color. You can either:
- Lightly brush both sides of each warmed tortilla with olive oil, avocado oil, or melted butter.
- Spray them with cooking spray.
- Shape and Bake:
- For stand-up shells (Method A): Drape the oiled tortillas over two rungs of your oven rack. Bake at 375°F (190°C) for 7-10 minutes, or until they are golden and hold their shape. Keep a close eye on them as they can burn quickly.
- For folded shells (Method B – Easier Cleanup): Lay the oiled tortillas on a baking sheet. You’ll fill these before fully crisping.
- For flat, crispy tostada-style bases: Lay oiled tortillas in a single layer on a baking sheet and bake at 400°F (200°C) for 6-10 minutes, flipping halfway, until crispy.
Assembling and Baking Your Chicken Tacos
Now for the fun part – putting it all together!
Ingredients for Assembly:
- Your perfectly cooked and shredded seasoned chicken
- Your chosen taco shells/tortillas (pre-baked if using hard shells, or warmed and oiled soft tortillas)
- Shredded cheese: A Mexican blend, cheddar, Monterey Jack, or Colby Jack are all great choices. About 1-2 cups.
- Optional additions to the filling:
- 1 can (15 oz) refried beans or black beans (rinsed and drained)
- ½ cup corn (canned or frozen, thawed)
- ¼ cup diced green chilies
Step-by-Step Assembly & Baking:
- Preheat Oven: Preheat your oven to 400°F (200°C). If you haven’t already, prepare a large baking sheet by lining it with parchment paper for easy cleanup, or use a taco baking rack.
- Prepare Shells/Tortillas (if using soft tortillas for folded crispy tacos):
- If using soft corn tortillas that you plan to fold and crisp with the filling: Warm them, lightly oil both sides. Lay them flat on the baking sheet.
- Layer the Goodness (for all taco types):
- (Optional Base Layer for Hard Shells or Pre-formed Baked Shells): If you like, spread a thin layer of refried beans on the bottom of each taco shell. This not only adds flavor but can also create a slight barrier to prevent the chicken from making the bottom of the shell soggy too quickly (though baking helps with this significantly).
- Add the Chicken: Generously fill each taco shell or one half of each soft tortilla with the seasoned shredded chicken. Don’t overstuff, or they’ll be difficult to manage and might not crisp evenly.
- Sprinkle with Cheese: Top the chicken with a good sprinkle of your favorite shredded cheese.
- Bake to Crispy, Melty Perfection:
- For Hard Shells or Pre-formed Baked Shells: Carefully arrange the filled tacos in a 9×13 inch baking dish or on a baking sheet (a taco rack is very helpful here to keep them upright). Bake for 8-12 minutes, or until the cheese is melted and bubbly, and the shells are heated through and fragrant.
- For Soft Tortillas (Folded Method): Once you’ve added chicken and cheese to one half of each oiled soft tortilla on the baking sheet, carefully fold the other half over to create a taco shape. You can press them down gently. Some people like to place another baking sheet on top for the first few minutes of baking to help them hold their shape and seal.
- Bake at 400°F (200°C) for 10-15 minutes, flipping them carefully halfway through, until the tortillas are golden brown and crispy and the cheese is melted.
The “Hang Over the Oven Rack” Trick Revisited: Some people swear by filling soft (warmed and oiled) tortillas, then hanging them over the oven rungs to bake. This can achieve excellent crispiness but requires care to avoid spillage. If you try this, place a baking sheet on the rack below to catch any drips.
The Grand Finale: Toppings Galore!
A taco is only as good as its toppings! Set up a taco bar and let everyone customize their creations. Here are some classic and creative ideas:
Classic Toppings:
- Shredded Lettuce: Iceberg or romaine for a cool crunch.
- Diced Tomatoes: Fresh and juicy.
- Diced Onions: White or red, for a sharp bite.
- Chopped Cilantro: For a fresh, herbaceous note.
- Sour Cream or Plain Greek Yogurt: For creaminess (Greek yogurt is a healthier, protein-packed alternative).
- Guacamole: Homemade or store-bought.
- Salsa:
- Pico de Gallo (Fresh Salsa): Diced tomatoes, onions, cilantro, jalapeño, and lime juice.
- Salsa Verde: A tangy green salsa made with tomatillos.
- Salsa Roja: A classic red tomato-based salsa.
- Corn Salsa: With corn, black beans, red onion, and bell peppers.
- Pickled Jalapeños: For a vinegary kick.
- Lime Wedges: A fresh squeeze of lime brightens all the flavors.
- Hot Sauce: Your favorite brand and heat level.
More Creative Topping Ideas:
- Pickled Red Onions: Adds a beautiful color and tangy flavor.
- Cotija Cheese: A salty, crumbly Mexican cheese.
- Avocado Crema: Blend avocado, sour cream or Greek yogurt, lime juice, and cilantro.
- Chipotle Mayo: Mix mayonnaise with a bit of adobo sauce from canned chipotle peppers and a squeeze of lime.
- Roasted Corn: Adds a smoky sweetness.
- Slaw: A simple cabbage slaw can add great texture.
Tips for Baked Chicken Taco Success
- Don’t Overcrowd the Pan: Whether baking chicken or tacos, give them space. Overcrowding will steam them rather than crisp them. Bake in batches if necessary.
- Taste and Adjust Seasoning: Always taste your chicken filling before assembling the tacos. Add more salt, spice, or a squeeze of lime as needed.
- Prep Ahead: You can cook and shred the chicken a day or two in advance. Make your homemade taco seasoning and chop your veggies ahead of time too. This makes assembly on taco night a breeze.
- Reheating Leftovers: Baked tacos are best enjoyed fresh. However, if you have leftovers, reheat them in a 350°F (175°C) oven or a toaster oven for 5-10 minutes until warmed through and re-crisped. Avoid the microwave, as it will make them soggy. Store leftover components separately if possible.
- Tortilla Quality Matters: For the best results, especially when making your own crispy shells, use good quality corn tortillas.
Variations to Try
Once you’ve mastered the classic baked chicken taco, feel free to experiment!
- Spicy Smoked Paprika Chicken: Use mostly smoked paprika and a good amount of cayenne in your seasoning blend for a smokier, spicier kick. Add a dash of liquid smoke to the chicken while cooking.
- Lime-Cilantro Chicken: Marinate the chicken in lime juice, chopped cilantro, garlic, and a bit of olive oil before seasoning and baking.
- Creamy Chicken Filling: After shredding the chicken, mix in 2-4 ounces of softened cream cheese and a couple of tablespoons of salsa verde for a richer, creamier filling before baking in the tacos.
- Ground Chicken Tacos: Substitute ground chicken for shredded. Brown it with onions and garlic, then add your taco seasoning and a bit of water or tomato sauce to create a savory filling.
- Add Veggies to the Filling: Sauté some diced bell peppers and onions with your chicken or mix in some spinach towards the end of the chicken cooking time.
What to Serve with Your Baked Chicken Tacos
While these tacos are a meal in themselves, here are a few side dishes that complement them perfectly:
- Mexican Rice or Cilantro-Lime Rice: Classic pairings.
- Black Beans or Refried Beans: If not already in the tacos.
- Simple Salad: With a light vinaigrette.
- Elote (Mexican Street Corn): Grilled corn with cotija cheese, lime, and chili powder.
- Fresh Fruit: Sliced mango or pineapple can be a refreshing contrast.
FAQs: Your Baked Chicken Tacos Questions Answered
Q: Can I use flour tortillas instead of corn for baked tacos? A: Yes, you can. Flour tortillas will also crisp up in the oven, though they tend to have a slightly chewier texture compared to the distinct crunch of corn tortillas. Follow the same steps for warming and oiling them.
Q: How do I prevent my taco shells from getting soggy? A: Several things help: 1. Pre-baking hard shells slightly. 2. Oiling soft tortillas before baking to create a barrier. 3. Not letting the filled tacos sit for too long before baking. 4. Baking at a sufficiently high temperature (400°F/200°C) helps crisp them quickly. 5. A thin layer of refried beans at the bottom of hard shells can also act as a barrier.
Q: Can I make these baked chicken tacos gluten-free? A: Absolutely! Corn tortillas are naturally gluten-free (always check the packaging to be sure, as some can have cross-contamination or wheat additives). Ensure your taco seasoning blend and all other ingredients are also certified gluten-free.
Q: What’s the best way to store leftover taco chicken? A: Store leftover shredded chicken in an airtight container in the refrigerator for up to 3-4 days. You can also freeze it for up to 3 months.
Q: Can I freeze assembled baked chicken tacos? A: It’s generally not recommended to freeze assembled baked tacos, as the shells can become very soggy upon thawing and reheating. It’s better to freeze the cooked chicken filling separately and assemble fresh tacos when ready to eat.