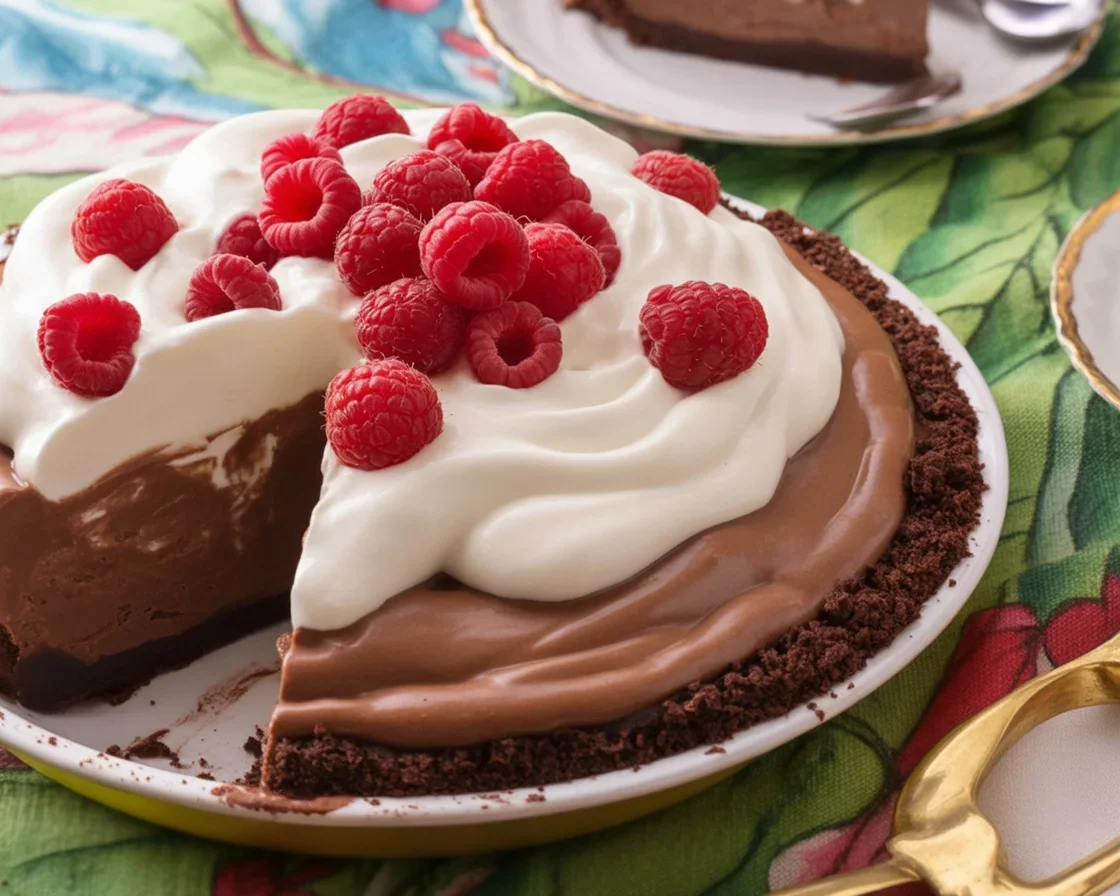
Chocolate Mousse Pie is the dessert I reach for when I need something easy, special, and guaranteed to make people smile. You know those nights when you want a showstopper without spending all day measuring and whisking? This is that pie. It tastes fancy but takes simple steps. The texture is silky and rich, and the crust adds just enough crunch to balance every bite. I’ll walk you through exactly how I make it at home so yours sets beautifully and slices clean. 
Ingredients You Need:
Here’s everything that goes into my kitchen when I make the Deliciously Smooth Chocolate Mousse Pie You’ll Love. I stick to basic ingredients you can find at any store, and I’ll note easy swaps that keep the flavor on point.
- Chocolate: Use 8 ounces of good semi-sweet or dark chocolate, chopped. I like 60 to 70 percent for deep flavor.
- Heavy cream: You’ll need 2 cups total. Part for the mousse, part for the topping.
- Sugar: 1/3 cup granulated sugar for the mousse. It keeps the sweetness balanced and the mousse stable.
- Butter: 2 tablespoons, melted, for shine and a smooth finish in the filling.
- Vanilla: 1 teaspoon, because chocolate loves it.
- Salt: A small pinch to make the chocolate flavor pop.
- Espresso powder: Optional 1/2 teaspoon. It boosts the chocolate without making it taste like coffee.
- Gelatin or instant clear gel (optional): A tiny bit helps the mousse set if you need clean slices for a party. I often skip it, but it’s handy in warm kitchens.
- Crust: Use a 9-inch cookie crust. Oreo-style cookie crumbs with melted butter are perfect. You can also do graham crackers, but chocolate cookies keep the chocolate vibe going.
For the crust, combine 2 cups crushed chocolate cookies with 6 tablespoons melted butter and a pinch of salt. Press into a 9-inch pie dish and bake at 325°F for 8 minutes, then cool. Or, use a quality store-bought crust if you want a shortcut. No shame in that.
For the filling, the rule is simple: melt gently, then fold with patience. That’s how we get that signature cloud-like texture while still holding a solid slice.
One more note on the chocolate. If you try milk chocolate, reduce the sugar a tad. Dark chocolate gives the most luxurious result, which is why I stick with it for the Deliciously Smooth Chocolate Mousse Pie You’ll Love.
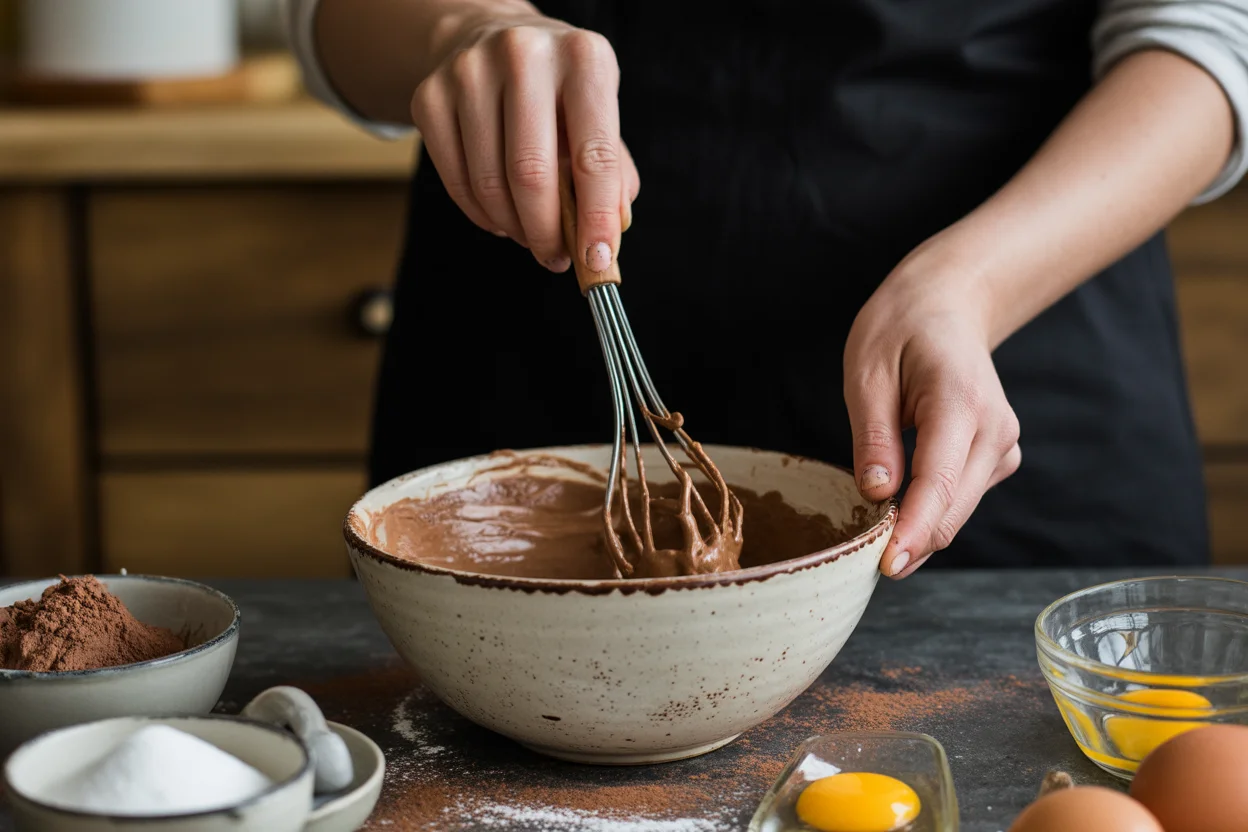
Step-By-Step Photos of Chocolate Mousse Pie
Melt the chocolate and prep the crust
Chop your chocolate small so it melts evenly. Add butter and microwave in 15 to 20 second bursts, stirring each time, until smooth and glossy. If using espresso powder, whisk it in now with a pinch of salt and the vanilla. Let it cool for about 5 minutes. You want it warm and fluid, not hot.
Whip the cream to soft peaks
Pour 1 and 1/4 cups cold heavy cream into a chilled bowl. Sprinkle in the sugar. Whip until soft peaks form. Soft peaks are key because you’ll fold without deflating the mixture. Overwhipped cream can look grainy and makes the mousse dense, so stop as soon as the beaters leave soft waves.
Fold and fill
Take a spoonful of whipped cream and stir it into the warm chocolate to lighten the mixture. Then gently fold in the rest using a spatula, turning the bowl and scooping from the bottom. Go slow and stop as soon as the streaks disappear. Pour into the cooled crust and smooth the top. Chill at least 4 hours, or overnight if you can, for tidy slices and a calm mind.
I promise this method gives you that restaurant-style feel without any fuss. It’s my go-to approach for the Deliciously Smooth Chocolate Mousse Pie You’ll Love, and it has never let me down on birthdays or cozy Friday nights.
“I made this for a family dinner and my dad asked where I bought it. The slices were neat, the texture was dreamy, and it tasted like pure chocolate. It’s a keeper.”
Lightly Sweetened Whipped Cream Topping
A soft pillow of cream on top makes the whole pie feel complete. I keep it gently sweet so it doesn’t overpower the mousse. For a standard top layer, whip 3/4 to 1 cup cold heavy cream with 1 tablespoon powdered sugar and a dash of vanilla until soft to medium peaks. Spread or pipe it over the chilled pie just before serving.
Stabilize it, if you want
If the pie needs to sit out on a buffet or you’re transporting it, stabilize the cream. The easiest way is to swap the powdered sugar for 1 tablespoon instant pudding mix or add 2 tablespoons mascarpone before whipping. It keeps the cream billowy and holds the pretty swirls. If you love an extra accent, shave chocolate over the top or scatter mini chips. Those tiny flecks hint at what’s inside and add a delicate crunch with every forkful of the Deliciously Smooth Chocolate Mousse Pie You’ll Love.
Recipe Tips
- Use quality chocolate: The flavor hinges on it. If it tastes great straight from the bar, it will make a great mousse.
- Don’t rush cooling: Let the melted chocolate cool a bit so it doesn’t melt your whipped cream. Warm is fine, hot is not.
- Soft peaks are your friend: Overwhipped cream can make the mousse stiff. Aim for soft peaks for a silky finish.
- Make ahead: This pie is best after 6 to 8 hours in the fridge. I often make it the night before, then add the topping before serving.
- Clean slices: Dip a sharp knife in hot water, wipe it dry, and cut. Repeat for picture-perfect slices.
- No-bake option: If your crust is store-bought or you don’t want the oven on, skip baking the crust. Press it firmly so it holds together once chilled.
- Egg-free and kid-friendly: This mousse uses whipped cream for body, so there are no raw eggs to worry about. If you’d rather use a classic egg-based mousse, pick pasteurized eggs for safety.
- Chocolate boost: A pinch of salt and a little espresso powder make chocolate taste deeper without tasting like coffee.
- Texture control: If your kitchen runs warm or you need neat slices for a party, bloom 1 teaspoon gelatin in 1 tablespoon cold water, melt until clear, cool slightly, and whisk it into the warm chocolate before folding in the cream.
- Serve with extras: Fresh berries, a drizzle of caramel, or a spoon of cherry compote all pair well.
If you want another chocolate treat for the table, these fudgy chocolate brownies in 1 bowl are a fast, crowd-pleasing backup. Bake them while the pie chills and you’re set for a full dessert spread.
And here’s a final sanity saver. If your mousse looks slightly streaky after folding, leave it. Overmixing is worse than a faint line or two. They disappear as it chills and firms up into the Deliciously Smooth Chocolate Mousse Pie You’ll Love.
More Chocolate Pie Recipes
If you’re on a chocolate pie kick, you’ve got options. Try a peanut butter swirl on the base of the crust for a salty-sweet lift. You can also blend a tablespoon of caramel into the mousse for a richer profile. Or switch up the crust and use pretzels for a sweet-salty twist. When you want something playful for brunch or dessert, these chocolate pancakes with caramel drizzle scratch the same itch with a lighter vibe.
Prefer single servings? Divide the mousse between small jars with cookie crumbs at the bottom. Top with cream and shaved chocolate for mini pies that travel well and look adorable on a tray.
Common Questions
Can I use milk chocolate?
Yes, but reduce the sugar slightly and expect a sweeter, lighter chocolate flavor. Dark or semi-sweet gives the most balanced result.
How long does it keep?
Up to 3 days covered in the fridge. Add the whipped topping the day you plan to serve for the freshest look.
Can I freeze the pie?
You can freeze slices for up to 1 month. Wrap tightly. Thaw in the fridge overnight. The texture stays surprisingly silky.
What if my mousse is runny?
Chill it longer. If it still seems soft, fold in a little extra softly whipped cream next time, or use the gelatin tip for a firmer set.
Can I make it gluten free?
Yes. Use gluten free cookies for the crust and check that your chocolate is certified gluten free.
Ready to Grab a Fork?
There’s something so comforting about a pie that looks fancy, slices clean, and tastes like pure chocolate bliss. Follow these steps and you’ll get that creamy cloud texture every time, crowned with just-sweet-enough whipped cream. If you want more inspiration, I love the guidance in this Easy Chocolate Mousse Pie – Cooking Classy and the height goals in this Sky-High Chocolate Mousse Pie – Sally’s Baking. Most of all, give yourself time to chill it and keep the folding gentle. Make the Deliciously Smooth Chocolate Mousse Pie You’ll Love tonight and watch those plates come back clean.