
Apple Pie has a way of making any day feel cozy, even the ones that barely cooperate. Maybe your crusts usually slump or your filling turns watery, or maybe you just want a no-fuss method that tastes like a hug. I’ve been there. After many pies, a few flops, and lots of taste testing with family, I’ve finally landed on a version that’s simple, reliable, and deeply satisfying. Around here, I call it my Irresistible Apple Pie Recipe You’ll Want to Make Again! It’s the kind of pie that disappears faster than you can pour coffee. 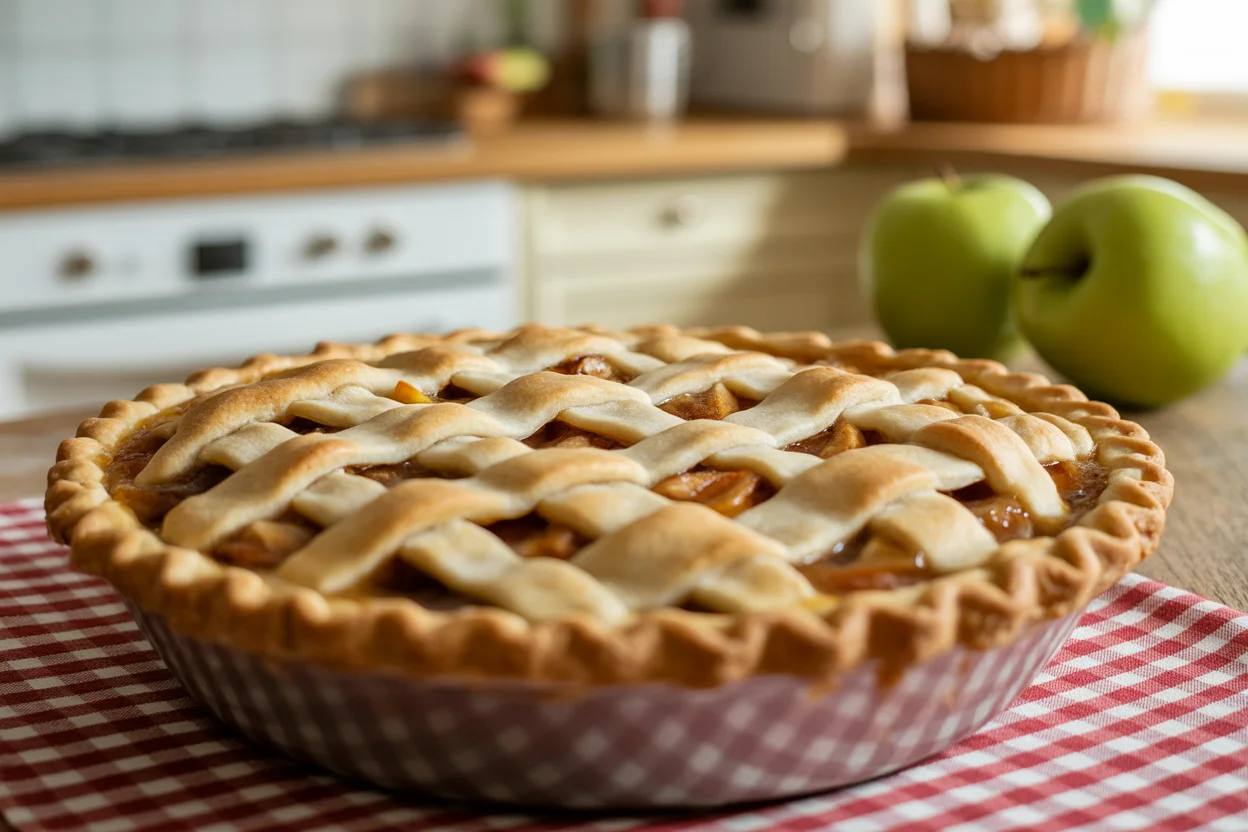
Best Apples for Apple Pie
Choosing the right apples makes your pie sing. You want a mix of tart and sweet, with apples that hold their shape so you don’t end up with a mushy layer that slumps under the crust. My biggest tip is to blend flavors. One apple variety rarely does all the heavy lifting.
My favorite combo
For amazing balance, I like Granny Smith for tartness and structure, Honeycrisp or Pink Lady for sweetness and snap, and sometimes a Braeburn or Jonagold for depth. If your store options are limited, two types are better than one. And if you overbought and need a second project for the extras, these apple bars are a crispy-chewy treat you can whip up with pantry basics.
The beauty of this pie is how flexible it is. Different apples change the flavor slightly, but the result still tastes like home. That’s one reason I keep making my Irresistible Apple Pie Recipe You’ll Want to Make Again! over and over. Tart, sweet, bright, and cozy in one slice.
How to Make Apple Pie from Scratch
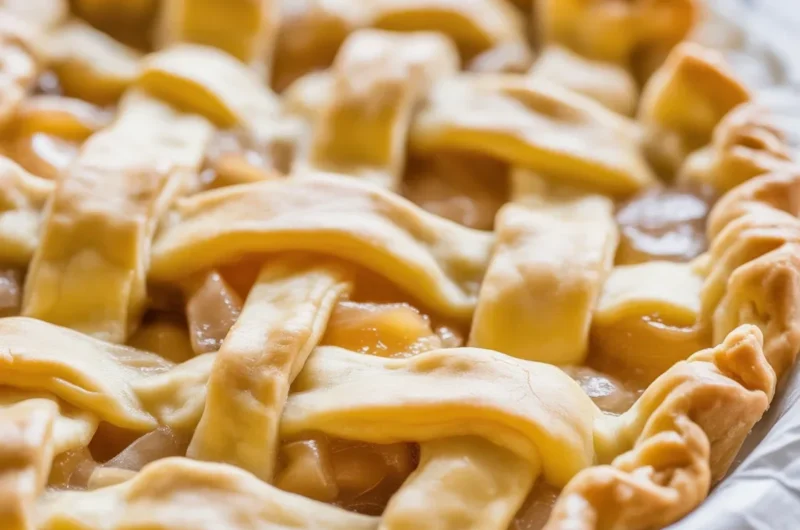
Let’s keep it straightforward. This pie is classic and unfussy, with a tender crust, juicy apples that hold their bite, and a glossy top that crackles when you cut in. The steps are simple and forgiving, so even if you’re not a regular baker, you’ll nail it.
Ingredients
- 2 pie crusts for a 9 inch pie (homemade or store bought)
- 6 to 7 cups peeled and sliced apples, about 900 g
- 2/3 cup granulated sugar
- 1/4 cup light brown sugar
- 2 to 3 tbsp all purpose flour or 1.5 tbsp cornstarch
- 1 tbsp lemon juice
- 1.5 tsp ground cinnamon
- 1/4 tsp ground nutmeg
- Pinch of salt
- 2 tbsp cold butter, cut into small cubes
- 1 egg beaten with 1 tbsp milk or water for egg wash
Step by step
- Prep: Heat oven to 425 F and place a rack in the lower third. Set a baking sheet on the rack to catch drips.
- Make filling: In a big bowl, toss apples with lemon juice, sugars, cinnamon, nutmeg, salt, and flour or cornstarch. Set aside for 10 minutes to help the juices thicken.
- Line the pan: Fit one crust into a 9 inch pie dish and chill it in the fridge while the apples rest.
- Fill: Pour apples into the crust, mounding them slightly in the center. Dot with butter.
- Top: Place the second crust on top. You can cut vents or make a lattice. Trim, fold, and crimp the edges. Brush with egg wash and sprinkle a little sugar for sparkle.
- Bake hot then low: Bake at 425 F for 20 minutes, then reduce to 375 F and bake 35 to 45 minutes until the juices are bubbling through the vents and the crust is deep golden.
- Cool: Let the pie cool at least 3 hours so the filling sets. If you cut too early, it will be soupy.
“I followed your timing and the apple mix exactly, and my pie finally held together like a bakery slice. My family asked for seconds immediately. Total win.”
Want a cozy dessert you can prep quicker on a weekday? Try this warm cinnamon apple crisp. It has the same baked apple goodness with a buttery crumb on top. But for holidays, my Irresistible Apple Pie Recipe You’ll Want to Make Again! is the star. It’s sturdy enough to slice cleanly, yet juicy and tender, with a balance of spice that never overwhelms the fruit.
The Perfect Pie Crust
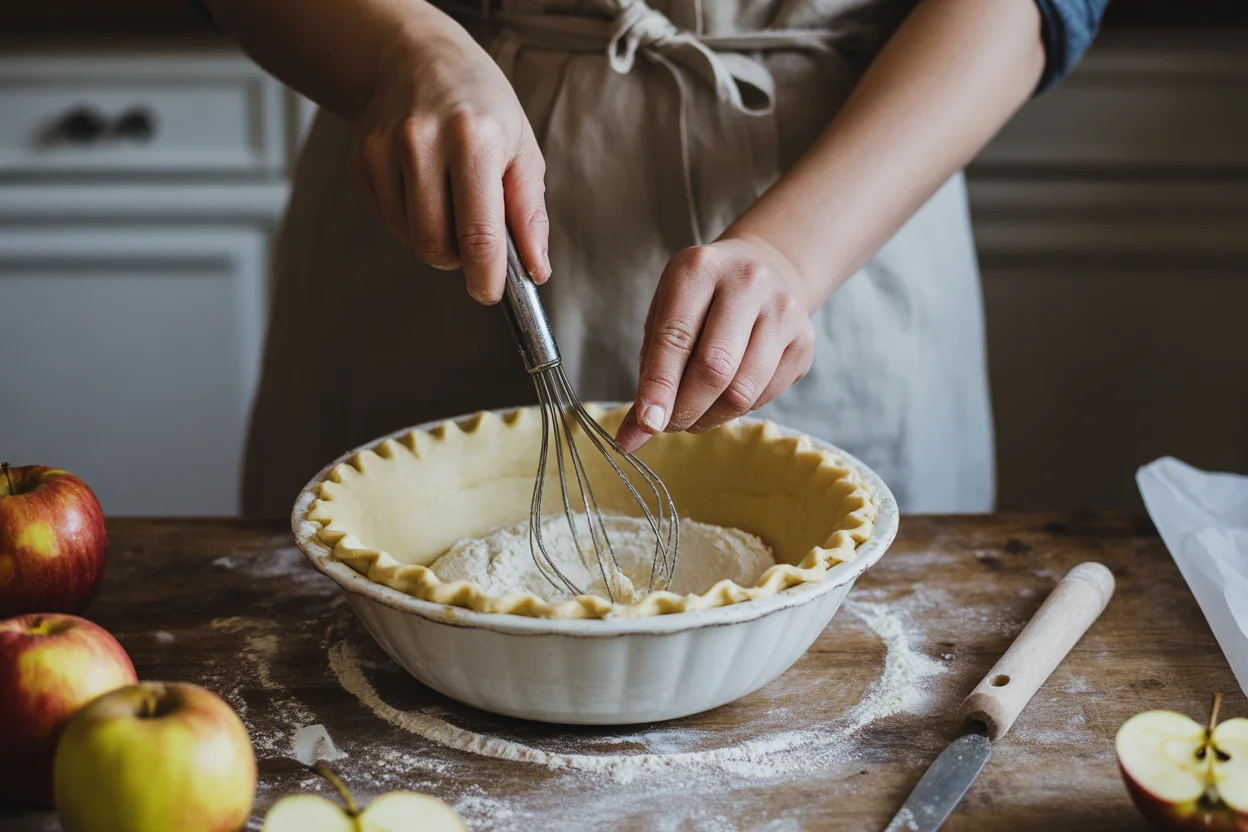
Crust can be a little intimidating, but it doesn’t need to be. You want flakes, not crumbs, and that comes from fat and temperature. I’m team butter for flavor, though a butter and shortening blend gives great structure too. Use what you’re comfortable with, and focus on technique.
Cold ingredients are key
Keep everything cold. Use cold butter, ice water, and chill the dough discs for at least 1 hour before rolling. Small chunks of butter should still be visible in the dough. When they melt in the oven, they create steam pockets that turn into flakes. If the dough warms up as you roll, pop it back in the fridge for 10 minutes. Also, don’t overwork it. A few rough edges are normal.
When assembling the pie, chill the whole thing for 15 minutes before baking. This helps set the shape and keeps the edges from shrinking. If the top browns too fast, cover loosely with foil. A simple pie shield made from foil strips works well for the rim. All these little steps are why the Irresistible Apple Pie Recipe You’ll Want to Make Again! turns out consistently flaky and gorgeous, without any complicated tricks.
How to Store Apple Pie
Fresh pie rarely lasts in my house, but when it does, this is how I keep it tasting like day one. Storage depends on how soon you plan to eat the leftovers.
Freezing tips for later
- Room temp: Keep a baked pie at room temp, loosely covered, for up to 2 days. The crust stays crisper this way.
- Refrigerator: For 3 to 4 days, cover and store in the fridge. Reheat slices in a 350 F oven for 8 to 10 minutes to re crisp the crust.
- Freezer baked: Wrap tightly in plastic, then foil. Freeze up to 3 months. Reheat from frozen at 375 F for 25 to 35 minutes.
- Freezer unbaked: Assemble the pie, freeze until firm, then wrap. Bake from frozen at 425 F for 25 minutes, then 375 F until bubbling, about 45 minutes more.
If you’re serving leftovers and want to add something fun on the side, here are ideas for what goes well with apple slices. Many of those pairings make excellent pie toppings too, like cheddar, caramel, or vanilla ice cream.
For the best texture when reheating, avoid the microwave. A hot oven refreshes the crust so it stays crisp, not soggy.
Common Questions About Apple Pie
How do I keep the bottom crust from getting soggy? Use a metal pie pan, bake on a preheated baking sheet, and make sure the filling is bubbling before you pull it. A little flour or cornstarch in the filling helps thicken the juices.
Do I need to peel the apples? You’ll get a more classic texture if you do, but leaving the peel on works in a pinch. Slice thinner if you leave the peel so it softens properly.
Why is my filling runny? It usually needs more time in the oven. Bake until the juices are visibly bubbling for several minutes. Also, let the pie rest for at least 3 hours before cutting.
Can I make the pie ahead? Yes. Assemble and refrigerate for up to 24 hours, or freeze unbaked and bake from frozen. You can also bake a day ahead and rewarm in the oven before serving.
What’s the best way to slice the pie cleanly? Let it cool fully, then use a sharp, thin knife. Wipe the blade between cuts. A chilled pie slices neater, and you can gently warm the slice after cutting.
Ready to bake your new favorite pie
You’ve got everything you need to make an Irresistible Apple Pie Recipe You’ll Want to Make Again! From the apple blend to the flakiest crust tricks, these small, practical steps make a big difference. If you love comparing methods, check out The BEST Apple Pie Recipe from Natasha’s Kitchen and the homey, classic style in this Easy Apple Pie Recipe that tastes just like grandma made. They’re great companions to this guide and will help you find your favorite style.
Now it’s your turn. Grab those apples, keep everything cold, and bake until the juices bubble. Once you taste that first slice, I’m betting this becomes your own Irresistible Apple Pie Recipe You’ll Want to Make Again! Happy baking and save me a piece.