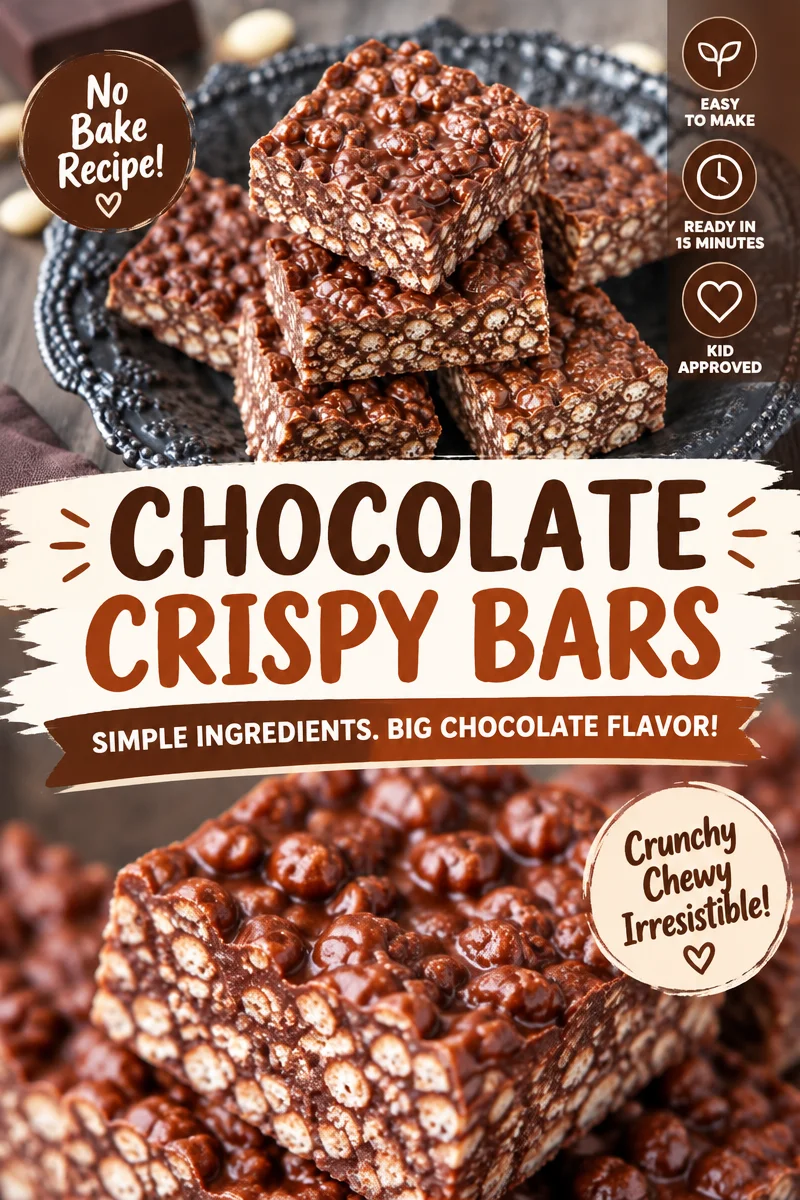
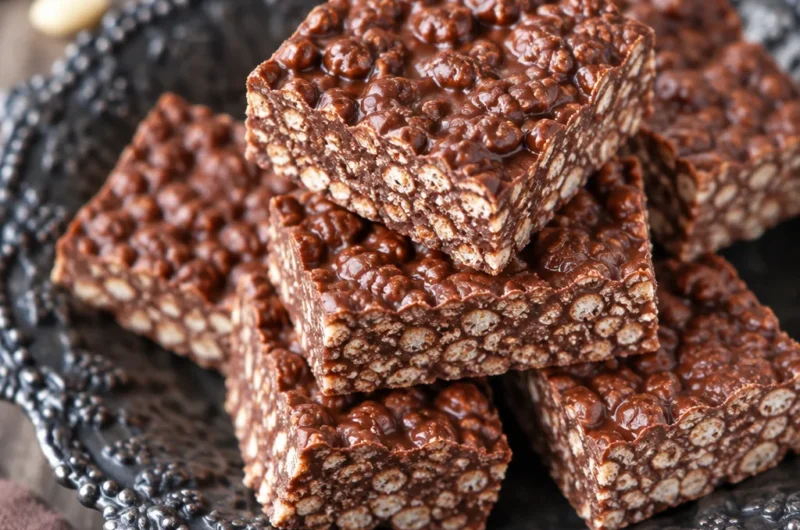
These homemade crunch bars are easy to make with only 3 ingredients and have the same crispy, chocolaty taste as your fa in English language. You know those nights when you want something sweet, but you do not want a sink full of dishes or a long grocery list? That is exactly when I make these. They are fast, kid friendly, and honestly kind of dangerous to keep in the fridge because I keep sneaking little squares. If you have ever wished you could copy that classic crunchy chocolate bar vibe at home, this is the one. 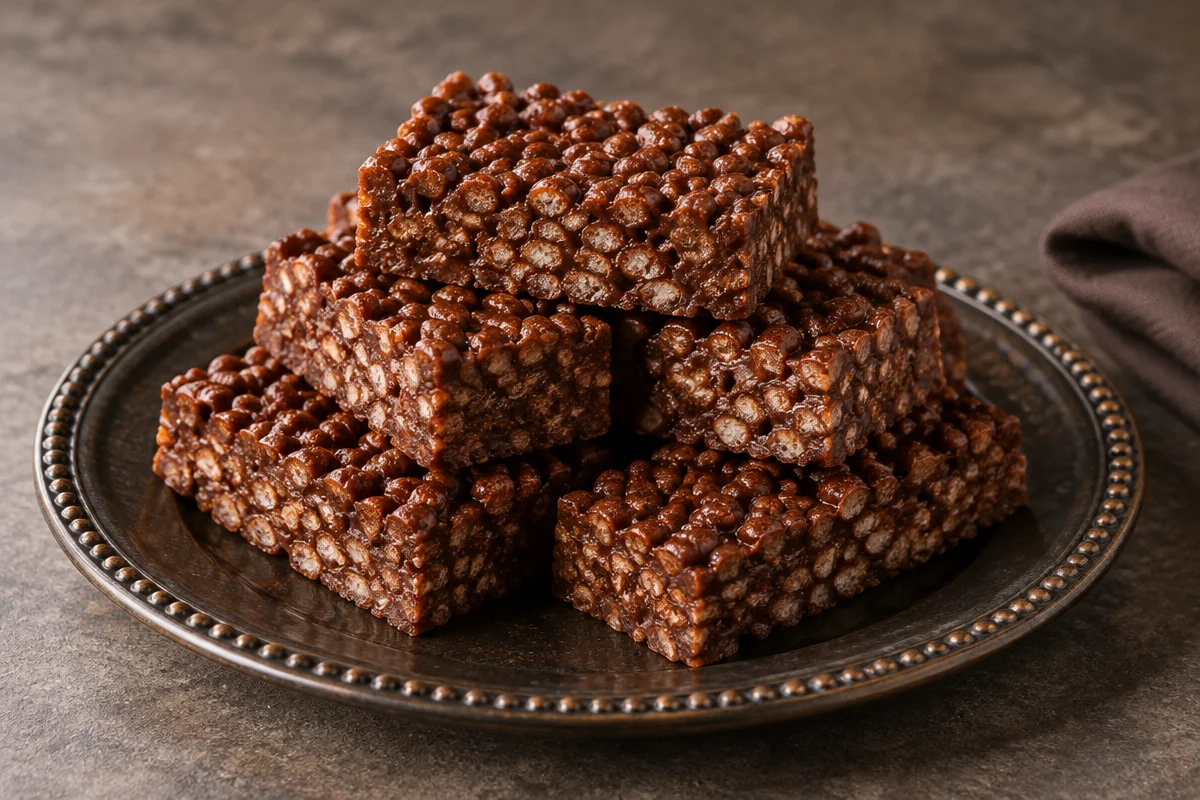
These homemade crunch bars are easy to make with only 3 ingredients and have the same crispy, chocolaty taste as your favorite candy bar! Full Recipe: https://www.iheartnaptime.net/crunch-bars/
This is one of those recipes that feels like a little kitchen magic trick. You melt chocolate, you stir in crunch, you chill it, and suddenly you have that familiar snap and crisp. The best part is that you do not need candy molds, thermometers, or anything fancy. If you can stir, you can make this.
I started making homemade crunch bars when I realized my sweet tooth does not care if dessert is complicated. It just wants chocolate and crunch, preferably right now. These hit that exact spot.
Also, if you are planning a cozy dinner night, I love pairing a simple dessert like this with something hearty earlier, like this savory slow cooker pot roast with potatoes. Dinner feels special, dessert feels easy. 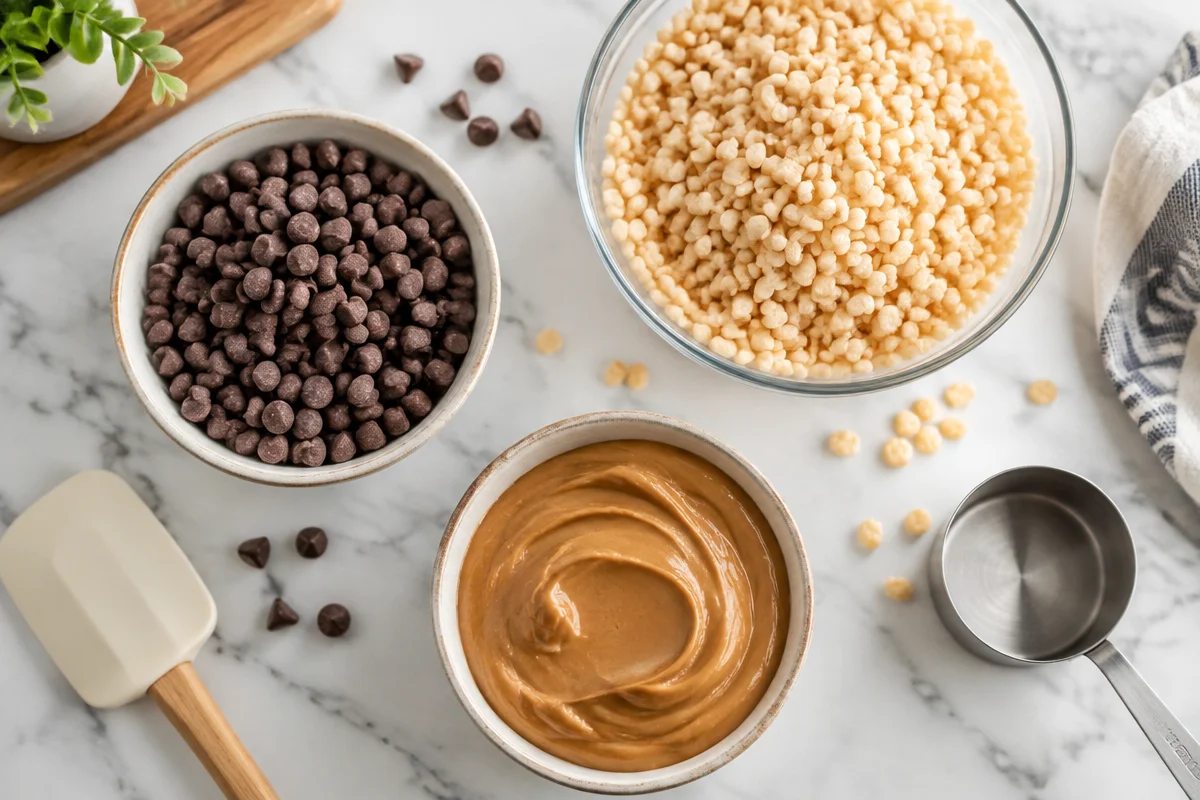
What you will need and why it works
The 3 simple ingredients
Here is the short list. You can absolutely keep it basic, or you can make tiny swaps depending on what you like.
- Chocolate: Milk chocolate tastes the most like the classic candy bar, but semi sweet works too if you want it less sweet.
- Crispy rice cereal: This is the crunch. It stays light and snappy once the chocolate sets.
- Peanut butter (or another nut or seed butter): This helps the chocolate set with a softer bite and makes the flavor richer.
Why this combo works is simple: chocolate gives you the snap, cereal gives you the crackle, and peanut butter gives you that smooth, creamy background so the bars do not taste flat.
Helpful tools (nothing fancy)
You probably already have everything:
- Microwave safe bowl or a small pot for melting
- Spatula or big spoon
- 8×8 pan (or similar) plus parchment paper
- Fridge space for chilling
I always line the pan with parchment because it makes lifting and slicing so much easier. If you skip it, you will still survive, but you might have to wrestle the first piece out.
For a full comfort food spread, this dessert also fits right in after a cheesy dinner like buffalo chicken and cheese casserole. Sweet after spicy is such a good combo.
Step by step directions (my no stress method)
How I melt and mix without ruining the crunch
I have learned a couple things the hard way, so let me save you from my earlier chocolate mishaps.
- First, line your pan with parchment and set it aside. Do this early because once the chocolate is ready, you want to move fast.
- Melt the chocolate and peanut butter together. Microwave in short bursts, stirring each time, or melt gently on the stove. The key is patience so the chocolate stays smooth.
- Once it is glossy and fully melted, stir in the crispy rice cereal. Fold it in gently so you do not smash all the crunch.
- Press the mixture into your lined pan. I press it down with the back of a spoon so it is even.
- Chill until firm, then slice into bars or squares.
My personal tip: do not press too hard when you spread it into the pan. If you pack it down like you are building a brick wall, the bars get dense instead of light and crisp.
“I made these for movie night and they tasted so close to the store bought ones that my husband asked where I hid the wrappers. Total keeper recipe.”
One more thing: if you want clean cuts, chill the bars fully and use a sharp knife warmed under hot water, then wiped dry. It sounds extra, but it works.
If you are doing a full family style meal, I would totally serve these after a cozy classic like comforting homemade lasagna family style. That combo makes people very happy.
Flavor ideas and serving suggestions
These bars are great plain, but once you make homemade crunch bars a couple times, you might want to play around. Here are a few easy ideas that still keep things simple.
- Salted top: Sprinkle a tiny pinch of flaky salt before chilling.
- Extra chocolate: Drizzle a little melted chocolate on top for that bakery look.
- Holiday vibe: Add festive sprinkles for birthdays or parties.
- Nutty crunch: Toss in a spoonful of chopped peanuts if you want even more texture.
How I serve them most often is straight from the fridge, cut into small squares. They are rich, so you do not need huge pieces to feel satisfied.
Storage is easy too. Keep them in an airtight container in the fridge for up to a week. You can also freeze them. I separate layers with parchment so they do not stick together, then I grab one whenever I want something sweet after lunch.
One little note if you are packing these for lunchboxes: they are sturdier when chilled, so I usually keep them cold until we head out the door.
Video walkthrough

If you are more of a visual person, a quick video walkthrough can be super helpful, especially the first time you make homemade crunch bars. Watching the texture when the cereal gets folded in will help you nail that perfect ratio of chocolate to crunch. I also like seeing how thick someone spreads the mixture in the pan because that changes the bite a lot.
My biggest reminder: stop stirring as soon as the cereal is coated. Overmixing can crush the cereal and make the bars less crispy.
Common Questions
Can I use chocolate chips instead of a chocolate bar?
Yes. Chocolate chips work great. If the melted chocolate seems thick, add a tiny bit more peanut butter to help it smooth out.
Do I have to use peanut butter?
No. Almond butter works, and sunflower seed butter is a good nut free option. The flavor will change a little, but the texture still turns out really nice.
Why are my bars not setting firmly?
This usually happens if the ratios are off or the bars are too warm. Chill longer, and next time use a little more chocolate or a little less peanut butter.
Can I make these gluten free?
Yes, as long as your crispy rice cereal is labeled gluten free. Everything else is naturally gluten free in most cases, but I still check labels.
How do I keep them crispy?
Store them sealed and chilled. Moisture is the enemy of crunch, so do not leave them uncovered on the counter for long.
A sweet little wrap up (and a nudge to try them)
If you have been craving something chocolatey, crispy, and simple, homemade crunch bars are such a fun win with basically zero stress. Once you make them once, you will start keeping those three ingredients around like a backup plan for busy weeks. If you want more variations and dietary options, check out 3 Ingredient Homemade Crunch Bars (Gluten Free) – Beaming Baker. And for the classic version and extra tips, I still reference Homemade Crunch Bars – I Heart Naptime when I want to double check ratios. Make a batch, stash them in the fridge, and tell me you do not sneak an extra piece when nobody is looking.